Schengen Visa Application Process: Complete Step-by-Step Guide

- The whole process, start to finish, typically takes 4 to 8 weeks once you account for appointment availability and standard processing time.
- You apply through the country where you'll spend the most nights — not necessarily your first or main destination if your trip covers several countries.
- Most applicants only need to visit the visa center once, at their scheduled appointment, since documents and biometrics are usually collected together in a single visit.
If you've never applied for a Schengen visa before, the process can look more complicated than it actually is, mostly because it involves several distinct stages handled by different systems — a visa center portal, a document checklist, an in-person appointment, and a separate decision notification that arrives later, sometimes weeks after the appointment itself. This guide walks through the whole journey from start to finish, so you know exactly what to expect at each stage and how long to budget for the process overall, without any last-minute surprises.
Stage 1: Confirm which Schengen country you're applying through
This is the very first decision, and it determines which consulate's rules, forms, and processing times apply to you. The rule is consistent across the whole Schengen area:
- If you're visiting only one country, apply through that country's consulate or authorized visa application center.
- If you're visiting several countries, apply through the country where you'll spend the most nights during your trip.
- If your nights are split evenly, apply through the country you'll enter first.
Get this wrong and you risk more than a processing delay — some consulates will refuse to process an application that should have gone through a different country entirely, sending you back to start the process again elsewhere.
Stage 2: Choose the right visa type
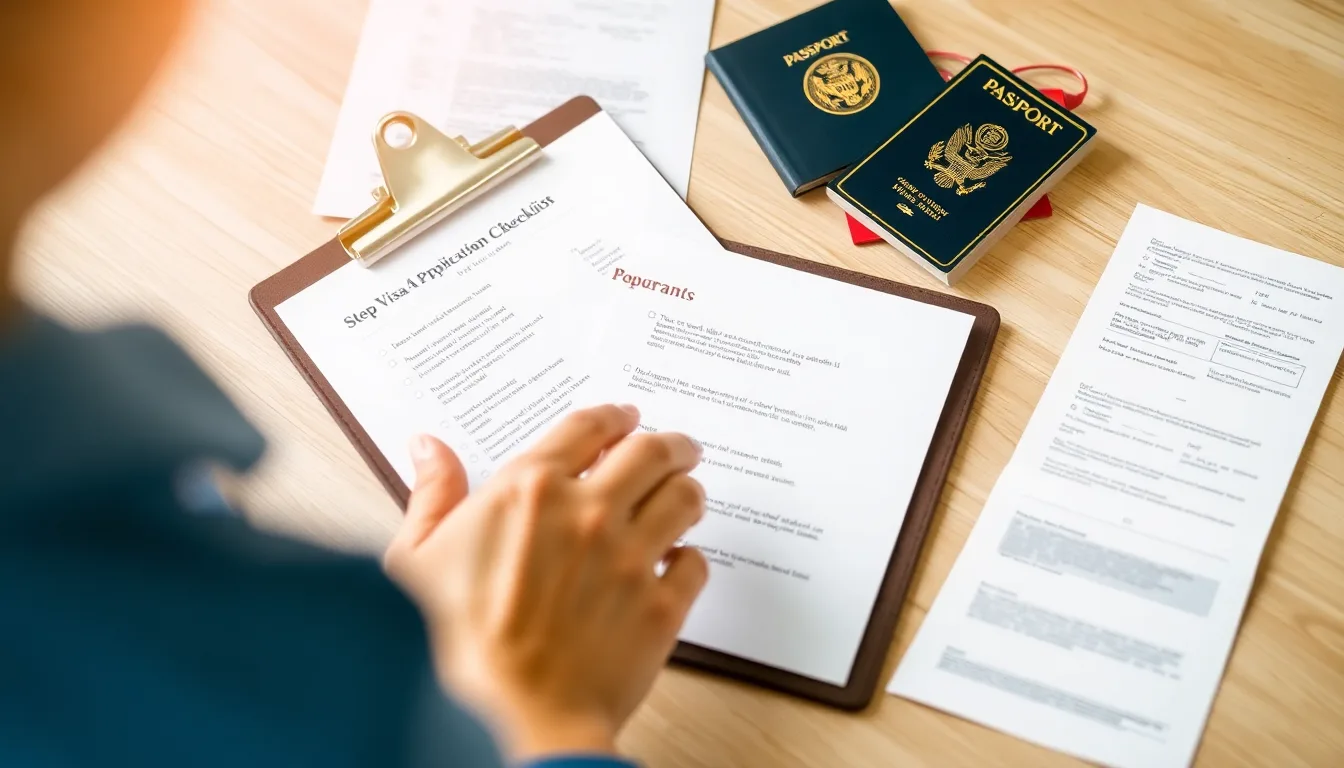
Most short-stay Schengen visas fall into a few main categories, and picking the correct one matters because it determines what supporting documents you need:
- Tourist visa (Type C) — for holiday, sightseeing, or visiting friends and family informally.
- Business visa — for meetings, conferences, or negotiations, usually requiring an invitation letter from the host company.
- Family visit visa — for visiting relatives, typically requiring a formal invitation letter from the host, sometimes officially registered.
- Transit visa — for travellers passing through a Schengen airport without staying, applicable to certain nationalities depending on their transit routing.
If your trip covers more than one purpose — tourism plus a couple of business meetings, for instance — state this clearly in your application and cover letter, and support each part with the appropriate documents rather than choosing a single category that doesn't fully reflect your actual plans. Picking the "easiest sounding" category rather than the one that actually matches your trip is a common shortcut that tends to backfire, since inconsistencies between your stated purpose and your supporting documents are exactly what draws additional scrutiny.
Stage 3: Gather your supporting documents
This is usually the most time-consuming stage, since it involves collecting original documents, printing forms, and sometimes waiting on employer letters or bank statements. The core categories every applicant needs are: a completed application form, a valid passport, passport photos, travel medical insurance, a flight reservation, proof of accommodation, proof of sufficient funds, proof of employment or study status, and a cover letter tying everything together. (For the exact specifications on each of these — photo size, insurance minimums, passport validity — a full document checklist is worth reviewing separately, since getting the small print wrong here is one of the most common causes of an otherwise-solid application getting flagged as incomplete.)
Start gathering these as early as possible, since some — particularly employer letters and bank statements — can take longer than expected to obtain, and you don't want document collection to be the bottleneck holding up your appointment booking.
Stage 4: Book your appointment

Once you know your destination country and have a rough sense of your documents, book your appointment through the relevant visa application center (VFS Global, TLScontact, BLS International, or a direct embassy portal, depending on the country). You can generally apply up to 6 months before travel, and should apply no later than 15 days before your trip to leave enough time for processing.
Popular destinations during peak season can have appointment slots booked out weeks in advance, so this stage benefits from starting early — ideally as soon as you know your travel dates, rather than waiting until your documents are fully assembled. (Appointment booking has its own set of country-specific quirks and timing considerations worth understanding in more depth if you're applying somewhere in high demand.)
Stage 5: Attend your appointment
At your scheduled appointment, you'll typically go through several steps in one visit:
- Submit your completed application form and all supporting documents for review.
- Provide biometric data — fingerprints and a digital photo — unless you've provided compatible biometrics within the last 5 years for a previous Schengen application.
- Pay the visa fee, if you haven't already paid online during booking (this varies by visa center).
- Answer any questions the visa center staff or consular officer has about your trip, documents, or purpose of travel.
Arrive a little early, bring both original documents and photocopies, and keep your paperwork organized so this step moves quickly — a well-prepared applicant can often complete this stage in well under an hour, whereas a disorganized file with missing documents can turn a routine appointment into a much longer and more stressful visit for everyone involved.
Stage 6: Wait for a decision
Standard Schengen visa processing takes up to 15 calendar days from your appointment date, though this can extend to 30 days if your application needs additional review, or up to 60 days in exceptional cases (unusual circumstances, additional document requests, or specific consular workload issues).
- Some visa centers offer online tracking so you can check your application's status without calling or emailing.
- If your consulate contacts you requesting additional documents during this period, respond promptly — delays in providing requested information directly extend your own processing time.
- Avoid booking non-refundable travel until you've actually received your visa, given that processing occasionally takes longer than the standard 15 days.
Stage 7: Collect your passport and visa
Once a decision is made, you'll be notified to collect your passport, either in person or via a courier delivery option some visa centers offer. Check your visa sticker carefully before leaving:
- Confirm your name, passport number, and visa validity dates are all correct.
- Confirm the number of entries (single, double, or multiple) matches what you applied for and need for your trip.
- Confirm the territory validity covers all the Schengen countries you plan to visit, if your visa specifies a particular country or region.
If you spot an error on the visa sticker itself, raise it with the consulate immediately — this is a genuinely rare occurrence, but catching it before you travel is far easier than dealing with it at a border checkpoint.
It's also worth photographing or scanning your visa sticker and application reference number once you have your passport back, storing a copy somewhere separate from the physical passport itself. If your passport is ever lost or stolen during your trip, having a record of your visa details makes replacing it, or explaining your situation to an embassy, considerably more straightforward.
Online applications and the shift toward digital processing
The EU has been gradually rolling out digital Schengen visa application options, allowing some applicants to submit their form and supporting documents online rather than filling out and printing a paper form. As of 2026, this is still being phased in unevenly across member states — some consulates offer a fully online pre-submission process, others still expect a printed, signed form brought to your appointment.
Regardless of which stage your specific consulate is at, a few things remain constant: you'll still typically need to attend an in-person appointment for biometric data (at least for first-time applicants), and you'll still need to bring physical copies of your key supporting documents even if you've uploaded digital versions in advance. Check your specific consulate's current process rather than assuming a fully paperless system, since the digital rollout is very much still a work in progress across the Schengen area as a whole.
What consular staff are actually assessing during your appointment
It helps to understand the underlying goal of the whole process, since it demystifies a lot of the paperwork. Consular officers are assessing three broad things: whether your stated purpose of travel is credible and consistent with your documents, whether you have sufficient means to support yourself for the trip without needing to work illegally or overstay, and whether you're likely to return home before your visa expires rather than remain in the Schengen area unlawfully.
Every document in your application supports one or more of these three questions. Your itinerary and cover letter address the first. Your bank statements and sponsorship letters address the second.
Your employment letter, family ties, and property address the third. Understanding this framework makes it much easier to spot gaps in your own application before you submit it — if a document doesn't clearly support one of these three questions, ask yourself whether it's actually necessary, or whether you're missing something that would. This is also a genuinely useful way to review your file the night before your appointment: read through everything one more time and ask, for each document, which of the three underlying questions it's actually answering.
Regional and honorary consulates
If you live somewhere without a direct consulate or visa application center for your destination country, you may need to apply through a regional center that covers multiple countries, or in some cases travel to a neighboring country's capital to submit your application. This adds logistical complexity worth planning for well in advance:
- Check whether your destination country has a visa application center covering your specific region, even if there's no full embassy nearby.
- Factor in additional travel time and cost if you need to apply in a different city or country than where you live.
- Some consulates offer a courier or postal document submission option for applicants who can't easily reach an appointment location, though this is less common and typically reserved for specific circumstances rather than standard tourist applications.
- Build extra time into your overall planning if a regional or honorary consulate applies to you, since these can sometimes have longer processing times than a full embassy handling a higher volume of applications directly.
How long does the whole process actually take?
Adding it all together: allow 1 to 3 weeks for gathering documents and securing an appointment (longer during peak season), then up to 15 days (sometimes more) for processing after your appointment. All told, most applicants should realistically budget 4 to 8 weeks from starting the process to having their visa in hand — comfortably within the window if you start as soon as your travel plans are confirmed, but noticeably tight if you leave everything until a few weeks before your planned trip.
What can go wrong at each stage, and how to avoid it
- Wrong consulate: avoided by carefully applying the "most nights, or first entry" rule before you book anything.
- Incomplete documents: avoided by starting document collection early and cross-checking against your specific consulate's exact checklist, not just a generic list.
- Missed appointment slots: avoided by booking as soon as your travel dates are confirmed, especially for high-demand destinations and seasons.
- Processing delays: partly outside your control, but minimized by submitting a complete, consistent file the first time, so the consulate doesn't need to request additional information mid-process.
- Errors on the visa sticker: avoided by checking every detail carefully at collection, before you leave the visa center.
Understanding the visa fee structure
The Schengen visa fee is set at the EU level and is largely consistent across member countries, though it's worth understanding what it covers and what it doesn't:
- The standard adult fee covers the cost of processing your application, not a guarantee of approval — it's non-refundable even if your visa is refused.
- Children under a certain age (typically 6) are usually exempt from the fee entirely, and children between roughly 6 and 12 often qualify for a reduced fee — check the specific age brackets with your consulate.
- Some nationalities benefit from fee waivers or reductions under specific EU agreements — this varies by country of citizenship, so it's worth checking rather than assuming the standard fee applies to everyone, since it can make a real difference to your overall budget for the application.
- If you use a visa application center rather than applying directly at an embassy, there's typically an additional service fee on top of the visa fee itself, covering the center's processing and biometric collection services.
- Some centers offer optional paid add-ons — SMS tracking, courier passport return, or a "premium lounge" appointment experience — none of which are required, but which some applicants find convenient.
Tracking your application after submission
Once your appointment is complete and your application is submitted, most visa centers offer some way to check on progress rather than leaving you completely in the dark for two weeks:
- An online tracking portal, usually accessible with your application reference number, showing basic status updates (received, in process, decision made).
- SMS or email notifications, sometimes as a free service, sometimes as a paid add-on depending on the center.
- A phone or email support line for direct inquiries, though response times vary and this is generally a slower option than the online tracker.
Checking obsessively rarely speeds anything up, but a quick check every few days is a reasonable way to know if your consulate has requested additional information, so you can respond before the delay compounds. Constantly refreshing a tracker multiple times a day, by contrast, adds stress without adding any actual information, since most systems update on their own internal schedule regardless of how often you check.
What happens if your application is refused
A refusal isn't the end of the road. Every refusal letter states the specific reason under Article 32 of the Visa Code, and most refused applicants successfully reapply once they've fixed the underlying issue — commonly weak proof of funds, an unclear itinerary, or insufficient proof of ties to home. There's no mandatory waiting period before reapplying, though most successful reapplicants take a few weeks to properly address the stated reason rather than resubmitting immediately with the same gaps. (If you're dealing with an actual refusal, a full breakdown of how to read the letter, fix the specific issue, and decide between reapplying or formally appealing is worth reviewing in detail, since the right move genuinely depends on your specific reason for refusal.)
First-time applicants vs. repeat applicants
The process looks slightly different depending on whether this is your first Schengen visa or a repeat application:
- First-time applicants almost always need in-person biometric enrollment (fingerprints and photo), and should expect the appointment itself to take a little longer, since there's more explanation and verification involved.
- Repeat applicants whose biometric data is still valid (usually within the last 5 years) may be able to skip that step, which can noticeably shorten the appointment, though document review still applies in full.
- Applicants with a strong prior Schengen travel history — visas used correctly, no overstays — often find their applications move a little more smoothly, since a clean travel record is genuinely useful supporting evidence for future ties-to-home concerns.
- Applicants with a previous refusal on record should expect closer scrutiny on their next application, and should specifically address whatever caused the earlier refusal rather than submitting an unchanged file.
Applying for children and dependents
Children need their own passport and their own Schengen visa application — there's no way to add a child to a parent's visa. Practical points worth knowing:
- Each child needs their own passport photo meeting the standard specifications, even infants.
- If only one parent is travelling with the child, a notarized consent letter from the other parent is often expected, even where not strictly mandatory, to avoid delays or questions at the appointment or the border.
- Financial proof can typically be shown through the accompanying parent's documentation rather than requiring separate funds specifically allocated to each individual child on the trip.
- Some consulates allow simplified or faster processing for minors travelling with a parent — check your specific consulate's policy since this isn't universal.
- If a child is travelling with grandparents, other relatives, or a school group rather than a parent, expect additional documentation requirements — a formal letter of authorization from both parents is typically expected, sometimes notarized, along with proof of the relationship between the child and the accompanying adult.
Key takeaways
- The Schengen visa process has six stages: confirm your consulate, choose your visa type, gather documents, book your appointment, attend it, and wait for a decision.
- Standard processing takes up to 15 calendar days, extendable to 30 or 60 in some cases — budget 4 to 8 weeks total from start to finish.
- Apply through the country where you'll spend the most nights, or your first point of entry if time is split evenly.
- Start early — document collection and appointment availability are the two stages most likely to become bottlenecks if left too late.
- Check your visa sticker carefully at collection before leaving the visa center.
This article provides general guidance, not official advice — always verify current processing times and procedures with the official consulate or visa application center website for the specific country you're applying to.
Frequently asked questions
Straight answers on the Schengen visa application process, covering the timing and logistics questions applicants ask most often from start to finish.
Frequently asked questions
How long does the Schengen visa application process take from start to finish?
What are the main stages of the Schengen visa application process?
Do I need to visit the visa center more than once?
Which country should I apply to for a multi-country Schengen trip?
Can I book non-refundable flights while my Schengen visa application is processing?
This article is for general informational purposes only. Visa and travel authorisation rules change frequently. Always check the official government website before travelling.

Written & reviewed by
Can OTUTravel Authorisation Editor
Can OTU is the editor of ETA Travel Assistant, specialising in UK ETA, Schengen ETIAS, NZeTA and ESTA travel authorisations. Can monitors official government sources and policy updates to ensure every guide is accurate, current and genuinely useful for travellers.
View all guides →